Baking is a form of rehabilitation that combines mental and physical power. Baking a batch of cookies with your kids is a great way to spend the weekend without having to leave the house. It’s a fantastic way to spend quality time with your family by allowing everyone to participate in the work. A go-to pastry that is easy to bake and loved by all age groups.
Even though cookies are simple to prepare, store, and bake, there are some essential tips and methods you may learn. The trick to preparing cookies is that it isn’t really a secret at all. Perfect cookies require good technique, and here are a few tips from professional bakers.
Follow these cookie baking strategies to achieve cookie perfection every time, whether you’re a rookie baker or a baking master.
First things first
When it comes to baking, proper planning is essential. There are a few things you should do before you begin baking.
- Before you do anything else, read the recipe thoroughly and gather all of the necessary tools and supplies.
- Unless otherwise specified, butter, eggs, and any other ingredients should be at room temperature before beginning. Your eggs, butter, and any other dairy components will blend together well at room temperature, forming an emulsion that traps air. During the baking process, the trapped air will stretch and expand, making your baked items fluffy and light.
- Baking is an art form. That’s why it’s critical to accurately measure your ingredients. I recommend using a kitchen scale for the best results. Cups will never be as precise as weighing with a scale.
- You don’t want to finish mixing up that lovely cake batter only to discover that your oven hasn’t been preheated. As a result, make sure to warm it before starting to mix your ingredients.
Use the right cookie tray
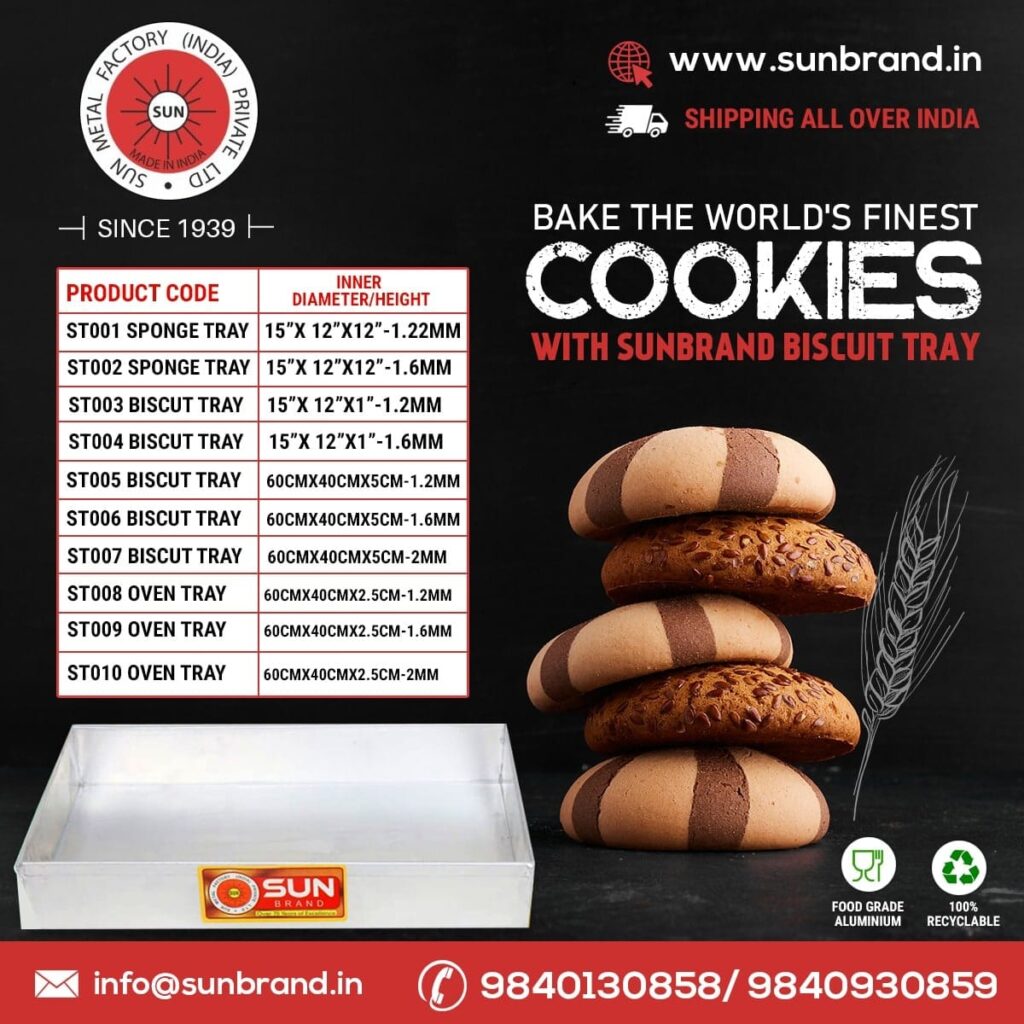
Make sure you always use aluminum cookie tray that the recipe specifies. Because cookie dough expand during baking, if you use a baking pan that is too small, your cookie will stick to each other. Prepare the aluminum cookie tray before beginning the recipe once you’ve chosen the proper one. You can use baking spray to coat the inside of the pan (bottom and sides). Alternatively, butter the pan, coat it with flour, then tap the tray while rotating it to remove the extra flour. Make sure the bottom and sides of the cookie tray are well covered.
Check the cookie dough texture
The texture of your cookie dough has a significant impact on how your cookies look and taste after they’ve been baked. Check the consistency of your dough after mixing all your ingredients
- Adding too much flour to your rolling pin or counter before rolling out your dough can make it “tough.” To avoid this, try rolling out the dough with as little flour as possible.
- Over-mixing or adding too much of any ingredient during the mixing procedure results in “dry” or “crumbly” dough. Add one to two teaspoons of liquid (water, milk, or softened butter) to your mix to reverse this.
- By adding one or two teaspoons of flour to your “soft” or “runny” dough, you can thicken it. This will prevent your batch from “Spreading” and turning into flat, non-cookie-like puddles when it comes out of the oven.
Chill the dough
After the butter/fat has softened while mixing/beating, chilling the cookie dough for 30 minutes before baking helps it to re-solidify. When baked, the fat slowly melts, keeping your cookies in form as well as thick and tasty. The cookies will spread too much, be thin, and non-uniform in shape if you don’t chill your dough.
Never place cookie dough balls on a hot baking pan. Allow the baking sheets to come to room temperature before baking in batches. Allow 5 to 10 minutes for your cookie sheet to cool after removing it from the oven. Then, before baking the next batch, run them under cold water and dry completely.
Make sure that your rising agents are still active and haven’t expired.
The rising agent (usually bicarbonate soda or baking powder) is out of date or no longer active, which is one of the most typical reasons why cookies don’t turn out well. Always keep an eye on your products’ expiration dates. If you’re not sure whether the rising agent is still active (especially if the container has been open for a time), you can test it by doing the following:
- Combining vinegar and baking soda
- Combining baking powder with boiling water
To get chewy cookies
Don’t overcook your cookies! Set your timer for five minutes less than the recipe calls for to ensure they always come out nicely baked. Your cookies should be just baked and not damp in the middle. You should be able to produce an impression while pressing on them, but it should not feel raw. Take them out as soon as they reach this point.
Use the right rack
If you have the time and ability, bake one batch of cookies at a time on the centre rack. Why? When the oven is focused solely on one batch, the best results are obtained. If you absolutely must bake more than one batch at a time for an event, holiday baking, or other reason, rotate the baking sheets halfway through the baking procedure from top to bottom rack. Hot spots exist in ovens!
Cool them properly after baking
The cookies will continue to bake as long as they are on the hot pan, even after taking the cookies out of the oven. Which is why it is important to monitor your cooling process. Here’s how to keep cool.
- Remove the cookie sheet from the oven and let the cookies cool for the time given in the instructions. The cookies firm up a little while they sit on the baking sheet, making them simpler to move. Allowing them to sit for too long will result in them becoming darker and crispier than you planned.
- To transfer cookies from the cookie sheet to the cooling rack, use a flat, thin spatula. When cookies are placed on a cooling rack, air circulates all around them, allowing them to cool completely. If you don’t have a cooling rack, place cookies on a piece of parchment paper.
Store them to keep fresh
While nothing surpasses a fresh-out-of-the-oven cookie, your cookies will still taste great the next day if you keep them properly. Allow for thorough cooling before storing cookies. If not, they will steam and become mushy. Most cookies can be kept at room temperature for up to three days in an airtight container. Cookies with a cream filling or that have been iced should be kept refrigerated. Allow time for frosted cookies to set completely. The layers were then separated using waxed paper in an airtight container.
Freeze the cookies
Most baked cookies can be frozen for up to 6 months if stored in sealed containers and labelled. Between waxed paper sheets, layer delicate or frosted cookies. Cookies with meringue, custard, or cream filling do not freeze well. Allow 1 to 2 hours for cookies to thaw at room temperature. Remove crispy cookies from their container when thawing.
Keep Cookie Dough Fresh for longer
Cookie dough can be stored in the refrigerator or frozen for later baking. Refrigerate dough for 2 to 4 days or freeze for up to 2 months in a securely sealed container.