Every baker knows the joy of creating a dessert without the stress of preheating the ovens or worrying about overbaking, be it a professional baker or a hobbyist. They know the no bake desserts and fudge slabs are the most quickest versatile and perfect hassle free recipes to bake for any occasion. But , Did you know? Even no-bake recipes also have a few challenges to deal with like uneven setting, messy release and imperfect slices that make your after bake feel frustrating.
This is where SunBrand Brownie baking tray comes handy taking your no bake sessions to the next level. It is designed with perfection to bake brownies with no- mess. But not just brownies it is ideal for no-bake creations as well. The tray has a smooth surface hence even setting and easy release of your goodies so they come out looking as good as they taste.
In this blog, we will explore five mouthwatering no-bake recipes you can make in your brownie baking tray.
Why Use a Brownie Baking Tray for No-Bake Recipes?
Before we dive into the list of recipes, let’s just talk about why a brownie baking tray is a must have tool for every baker. When making no-bake recipes the material, depth and structure of the tray matters. It makes a huge difference in how your baked goodies turn out. Every baker swear by using SunBrand’s premium quality brownie baking trays for baking brownies as well as for other no-bake recipes. Because,
- Even Cooling: Ensures the dessert sets uniformly, avoiding one side being too soft while the other is rock hard.
- Smooth Surface: Prevents sticking, so you can lift and slice your fudge or bars without breaking them.
- Durable Build: Maintains shape in the freezer or fridge—no warping like flimsy trays.
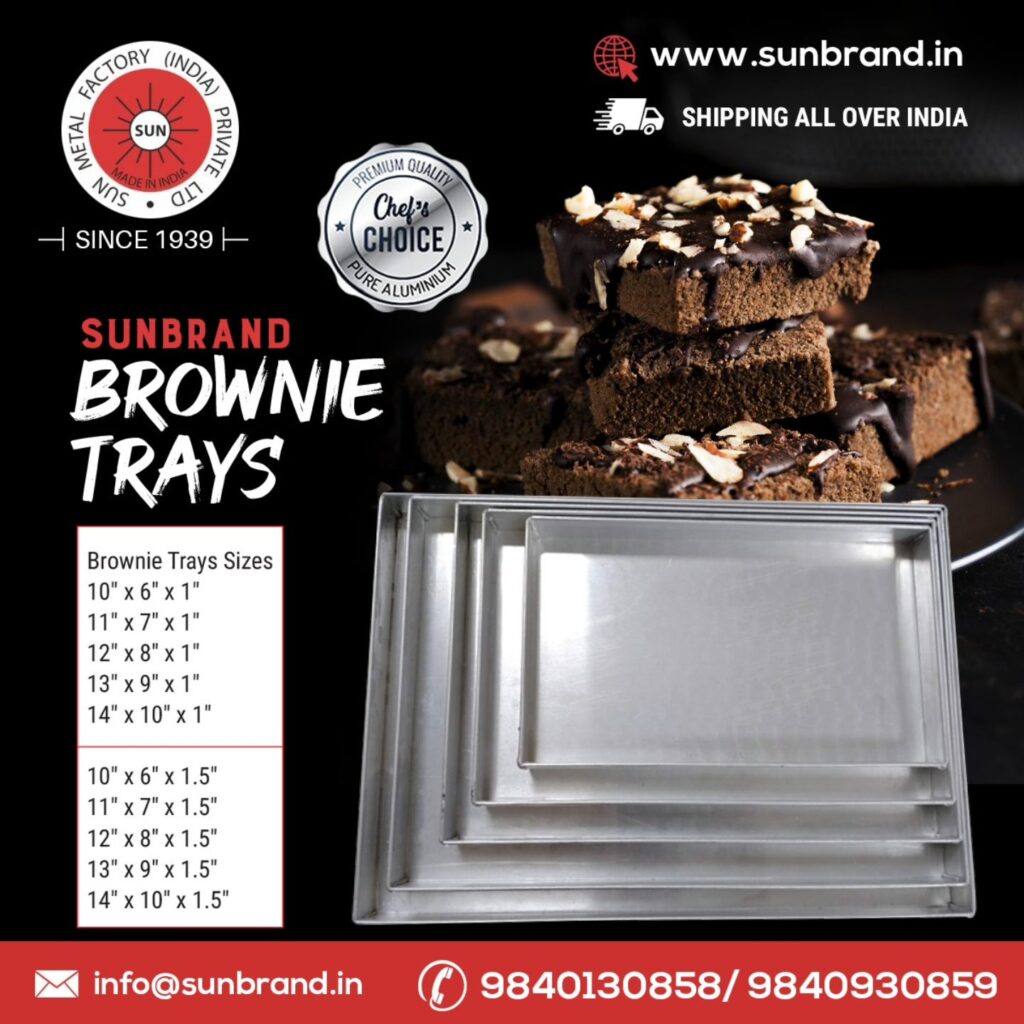
- Variety of Depths: Perfect for thin, bite-sized slabs or thick, indulgent bars.
These qualities of a tray gives you less frustration and more Instagram-worthy results.
Recipe 1: Classic Chocolate Fudge Slab
Have you ended up with messy edges and uneven squares even after spending hours on perfecting the mix? No matter if you are a baking professional or an enthusiast i bet, you hate that. Homemade fudge always gets stuck to the pan or they break apart making your baking sessions frustrating.
A smooth aluminum surface is your solution for this messy outcome. TheSunBrans Brownie baking tray ensures even cooling hence your fudge firm up uniformly and release effortlessly. Viola! There you have clean squares every single time.
Ingredients:
- 400g sweetened condensed milk
- 500g semi-sweet chocolate, chopped
- 2 tbsp unsalted butter
- 1 tsp vanilla extract
Method:
- Line your brownie baking tray with parchment for extra ease.
- Melt chocolate, condensed milk, and butter in a heatproof bowl over simmering water.
- Stir in vanilla.
- Pour into the tray, smoothing the top with a spatula.
- Chill for 4 hours or until firm. Slice into neat squares.
Pro Tip: Use the 1″ deep tray for the perfect thickness.
Recipe 2: Peanut Butter Chocolate Layer Bars
Pain Point:
Layered no-bake bars can be tricky to make as their soft bases crumble, uneven chocolate topping might crack, or layers separate after chilling.
The even cooling and flat base of the SunBrand brownie baking tray ensures that each layer sets at the same rate, bonding together perfectly without cracks or separation.
Ingredients:
- Base: 2 cups crushed digestive biscuits, ½ cup melted butter, ¼ cup sugar
- Middle: 1 cup peanut butter, ½ cup icing sugar
- Top: 200g dark chocolate, melted
Method:
- Mix biscuit crumbs, butter, and sugar. Press into the tray’s base. Chill for 20 minutes.
- Blend peanut butter and icing sugar. Spread evenly over the base. Chill again.
- Pour melted chocolate on top. Smooth out.
- Chill for 2 hours, then slice.
Pro Tip: Use a slightly deeper tray (1.5″) for a generous layer effect.
Recipe 3: No-Bake Cheesecake Squares
When making No-bake cheese cake the base might turn soggy or can slump when chilled in containers that are not perfect for the task. The wrong baking tray can make the edges of the cheese cake stick to it thereby ruining the presentation.
The SunBrand Brownie baking tray’s rigid shape and smooth finish prevent sogginess, help the crust stay firm, and allow clean release for picture-perfect squares.
Ingredients:
- Base: 1½ cups crushed biscuits, ½ cup melted butter
- Filling: 500g cream cheese, 1 cup icing sugar, 1 tsp vanilla extract, 1 cup whipped cream
- Topping: Fresh berries or fruit compote
Method:
- Combine base ingredients and press into the tray. Chill for 30 minutes.
- Beat cream cheese, sugar, and vanilla. Fold in whipped cream.
- Spread over the base. Smooth the top.
- Chill for 6 hours or overnight. Top with berries before slicing.
Pro Tip: For a taller cheesecake, opt for a deeper brownie baking tray.
Recipe 4: Mint Chocolate Fudge
Flavoured fudges when baked in large batches can sometimes set unevenly or develop air pockets. The only solution for this problem is to cool the mixture evenly. When the mixture cools down evenly it solidifies consistently thereby eliminating grainy textures and airgaps.
Ingredients:
- 400g white chocolate
- 1 can condensed milk
- 1 tsp peppermint extract
- Green food coloring (optional)
- 100g dark chocolate for drizzle
Method:
- Melt white chocolate with condensed milk. Add peppermint and coloring.
- Pour into tray. Chill for 3 hours.
- Drizzle with melted dark chocolate before slicing.
Pro Tip: The shallow 1″ tray works best for thin, elegant slices.
Recipe 5: Biscoff Caramel Slice
Have you baked sticky desserts like Biscoff caramel slices in a random tray? If you have then, you might have noticed the caramel layers clinging to the pan right? It is almost impossible to remove it without ruining the Biscoff. Also the cleaning job gets even messier. But the non-stick nature of the aluminum brownie baking tray and optional parchment lining means sticky desserts slide out smoothly without tearing.
Ingredients:
- Base: 2 cups crushed Biscoff biscuits, ½ cup melted butter
- Middle: 1 can condensed milk, ½ cup brown sugar, ½ cup butter
- Top: 200g milk chocolate, melted
Method:
- Mix base ingredients and press into the tray. Chill.
- For caramel, combine condensed milk, sugar, and butter over low heat until thickened. Pour over base.
- Top with melted chocolate. Chill for 3 hours. Slice with a warm knife.
Pro Tip: Perfect for the 1.5″ deep tray to hold generous caramel layers.
Tips for Success with No-Bake Desserts in a Brownie Baking Tray
- Line the Tray: Even though the Sunbrand tray has a smooth surface, parchment lining makes lifting and slicing effortless.
- Chill Thoroughly: Give enough time for the dessert to set completely—rushing leads to crumbling.
- Warm Your Knife: Dip in hot water and wipe before each slice for clean cuts.
- Choose Tray Depth Wisely: Shallow trays for thin bars, deeper trays for layered desserts.
No-bake desserts and fudge slabs are meant to be stress-free, but without the right tools, they can quickly turn into kitchen disasters. The Sunbrand brownie baking tray takes the guesswork out, giving you consistent results—whether you’re layering peanut butter bars, setting cheesecake squares, or pouring silky fudge.
With the right tray in your hands, you can focus on creativity, flavor, and presentation—while leaving the setting, release, and slicing worries behind.
Ready to try these recipes? Check out the full range of premium Sunbrand brownie baking trays and start creating no-bake masterpieces that look as professional as they taste.