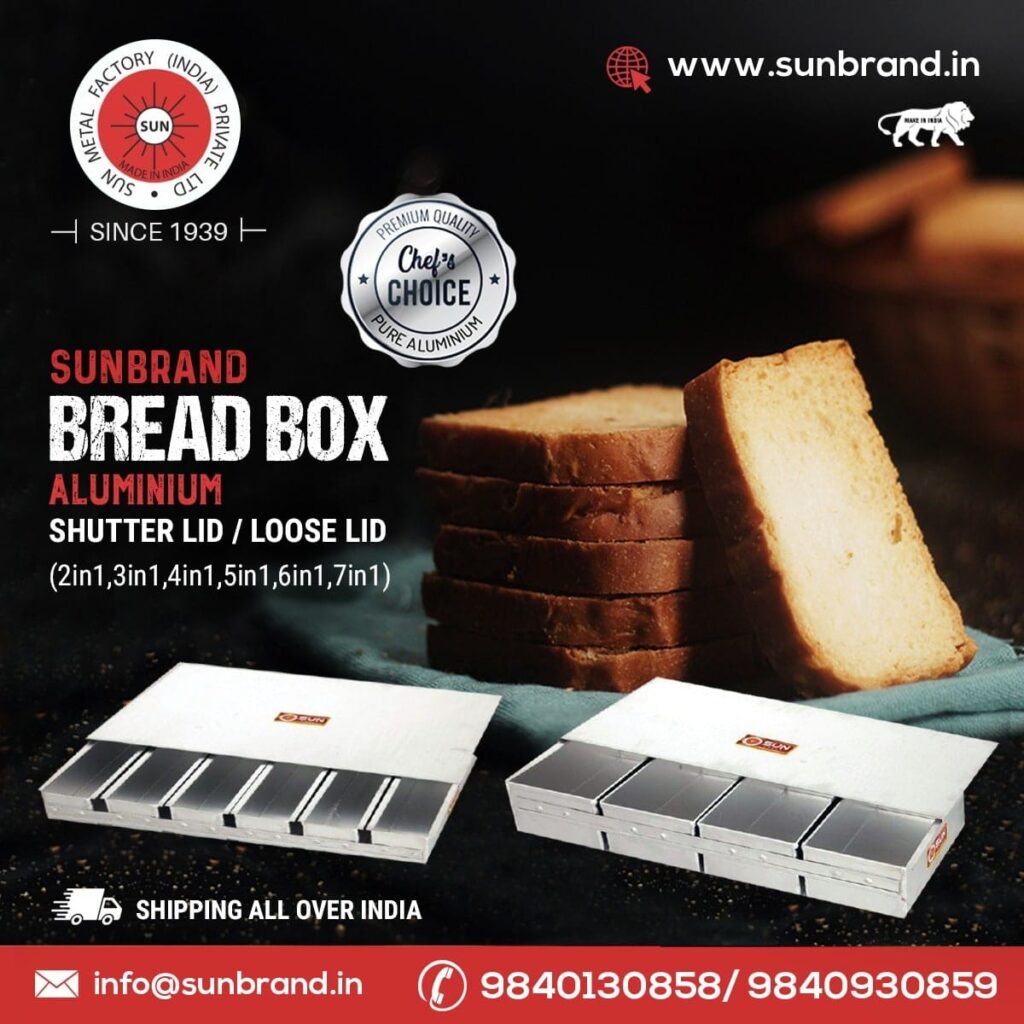
Everyone initially enjoys making bread. Baking a fresh loaf of bread can be a delightful experience for you and your family. The majority of people view bread as a staple food. You only need a little bit of ability, some basic scientific understanding, and a few surefire methods to properly bake bread. Here are some tried-and-true methods for using your bread pan like a master.
What to take into account while selecting a commercial bread pan?
Materials: A range of materials are used to make bread pans. The best option, though, and the one that is best for professional bakers, is the one that transmits heat properly and evenly. The majority of bakers pick a commercial bread pan because it distributes heat evenly from the center to the pan’s edges.
Durability: Commercial bread pans must withstand repeated daily use. Therefore, it’s crucial to pick a bread pan that can resist regular use and abuse.
Heat conduction: Metal pans are the greatest choice for commercial use when it comes to heat conduction. Compared to porcelain or glass, metal bread pans such as aluminum or stainless steel transfer heat exceptionally well. These ingredients might work well for fast bread, but they might not produce the desired outcome when used to make sourdough or yeasted bread.
Why should a commercial bread pan be greased?
No customer would want to purchase a loaf of bread from a baker that was cracked or damaged. Your customer will only be interested in bread that is expertly prepared and moulded. It is essential to lubricate the bread pan in order to stop the bread from breaking when it is removed from the pan.
It’s a usual practice to grease the bottom of the pan before baking in order to lubricate it and keep the baked food from sticking. It is always advised to apply cooking spray or butter when doing this.
How should a bread pan be properly greased?
For the majority of white, brown, and fast-bread recipes, frying is not necessary. Typically, you don’t need to butter the pan when the bread dough is thick.
Method 1: When the recipe instructs you to “grease the pan,” use butter or cooking spray to coat the bottom of the bread pan because these two ingredients are typically used as oil when baking bread. Grease the bottom of the pan with a thin coating of butter, cooking spray, or oil using any one of these items. The fat should now have some cornmeal sprinkled over it. Invert the pan to brush off any excess flour. The bread won’t break once it’s finished because this procedure is simple.
Method 2: If approach #1 seems too disorganized, use parchment paper. Cut the parchment paper into the shape of the bread pan. After applying butter to it, put it at the base of the pan. Place the dough now, and when the bread is done baking, it will come out of the pan with no effort.
Avoid these common errors while using a bread pan.
Poorly prepared baking pan
As directed in the recipe, make sure to lightly grease the bread pan or dish with solid vegetable shortening or nonstick cooking spray. Use a small, flexible metal spatula or thin-bladed knife to delicately go around the sides of the quick bread to extract it from the pan.
Bread that had not yet cooled enough to be removed from the pan
The majority of recipes specify chilling bread for 10 minutes before gently transferring it to a wire cooling rack. Because quick bread tends to condense while standing, it is easier to remove them from the bread pan. If the quick bread still won’t release from the pans, slowly loosen it with a small, flexible metal spatula or a knife with a thin blade.
The buildup of non-stick spray on the bread pan
Because they are so sticky, non-stick cooking sprays can build up on the pan if they are not thoroughly wiped with hot, soapy water. This buildup could cause sticking.
Not enough shortening or nonstick cooking spray was used, or it wasn’t applied uniformly throughout the pan.
The sides, bottoms, and corners of the pan must all be evenly coated with solid shortening or non-stick cooking spray. Sticking will result from an absent location. Use a nonstick pan to bake your pastries. If the oven’s surface is dark in color, lower the temperature by 25°F. Otherwise, line the baking pan with waxed or parchment paper. When using wax paper, coat the pan with nonstick cooking spray or lightly oil it before putting the wax paper inside. Finally, spray or oil the waxed paper just a little bit.
The bread pan’s sides were caked with the batter that had overflowed.
Don’t fill the baking pan too full. If you are using a different baking pan than what is necessary, be sure the volume is equal to or more than the size given in the recipe. There must be a change in baking time. Carefully move the baked bread that “overflowed” the pan’s outer edges with a small, flexible metal spatula or thin-bladed knife.
To buy the Best aluminum bread pan

